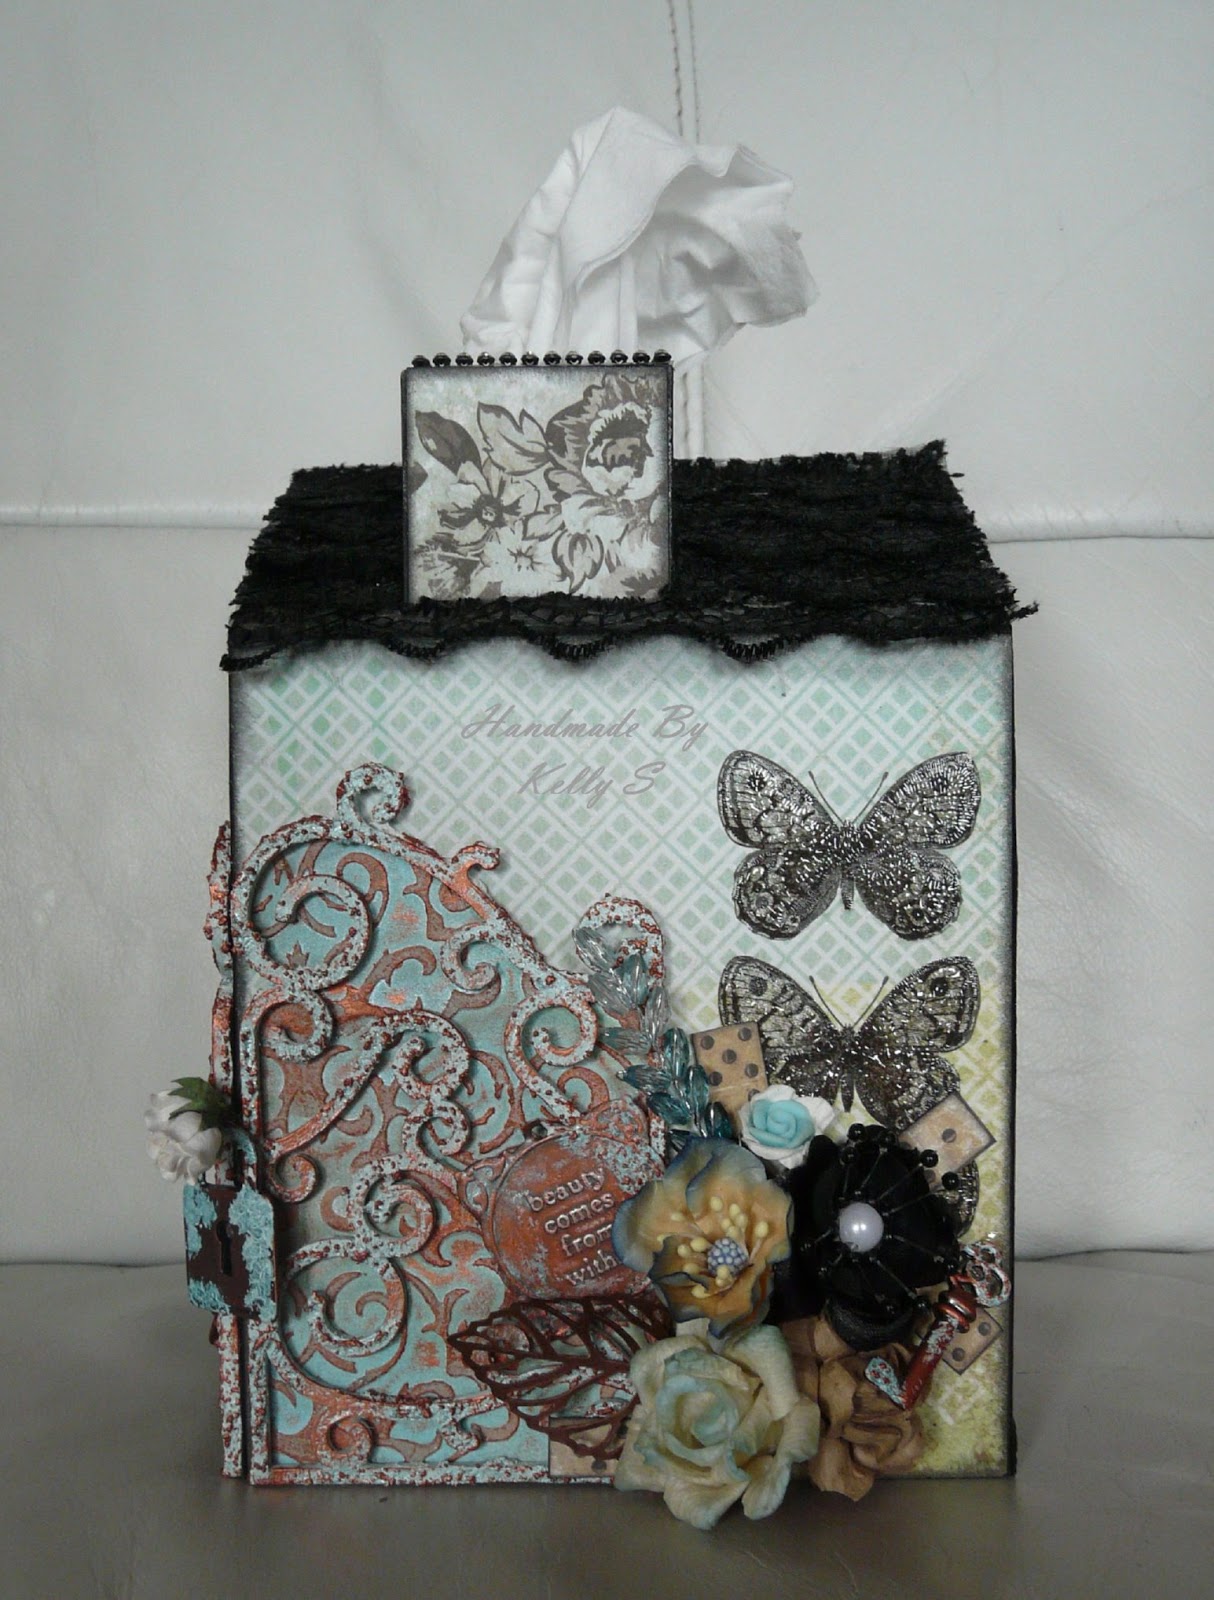
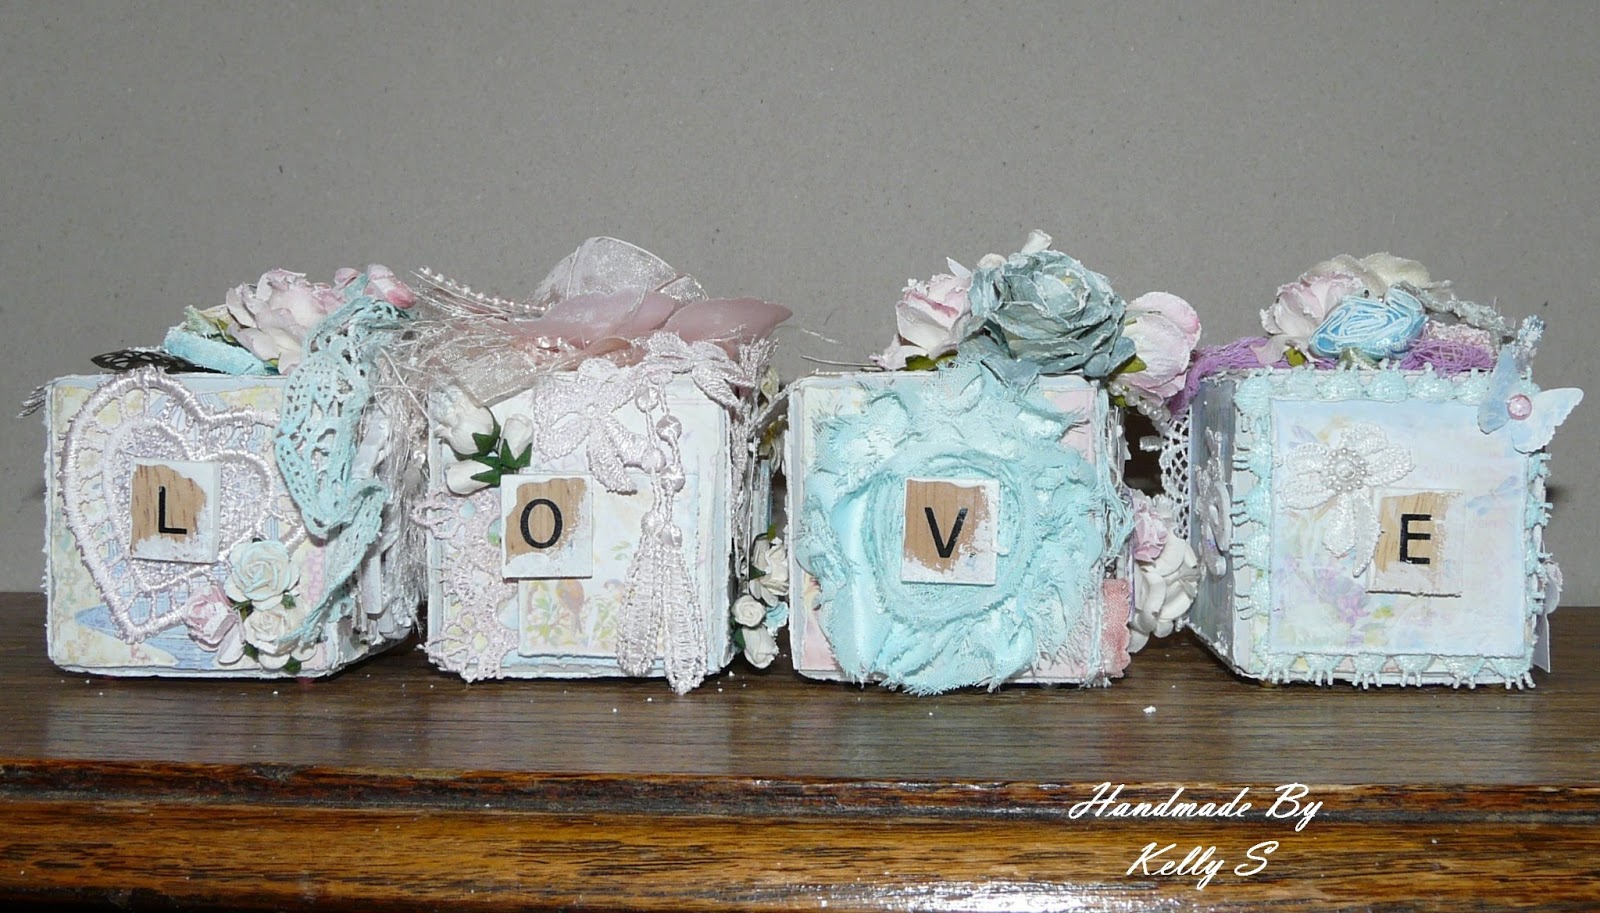
'Love, Dream, Live & Giggle' Altered Key Box
I started with a plain wooden key box that I purchased from Calico Crafts. I decided to alter it using the Kaiser craft base Coat release 2 collection of paper.
I started by painting the bare wood with a chocolate brown acrylic paint. I then cut the paper to fit the box, I mitered the edges to give it a neat look. I distressed all the edges of the paper quite heavily with Tim Holtz distress ink in 'walnut stain'. On the back side I used a piece of brick effect card stock that I bought from UK craft store hobbycraft.
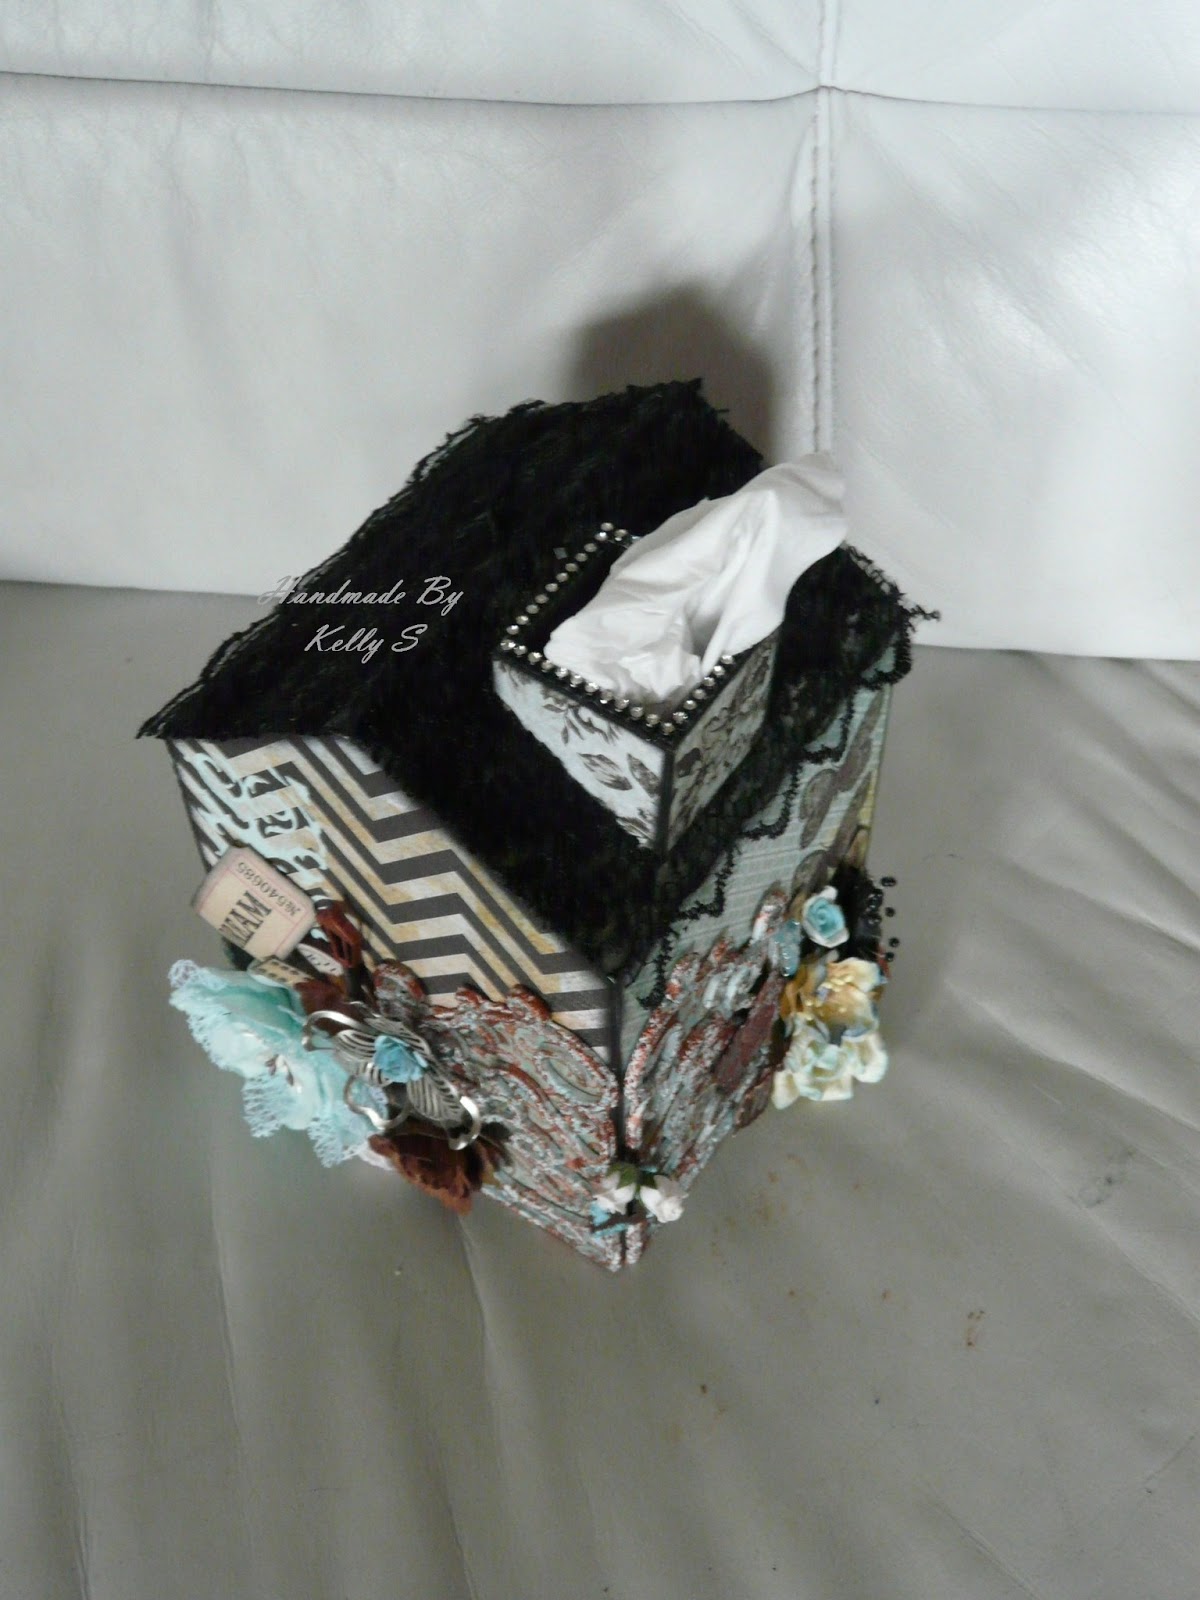
I used a vintage trim all the way around the bottom of the cabinet / box as it was the perfect colour look that I was going for. All the rest of the trims and the doily I tea dyed.
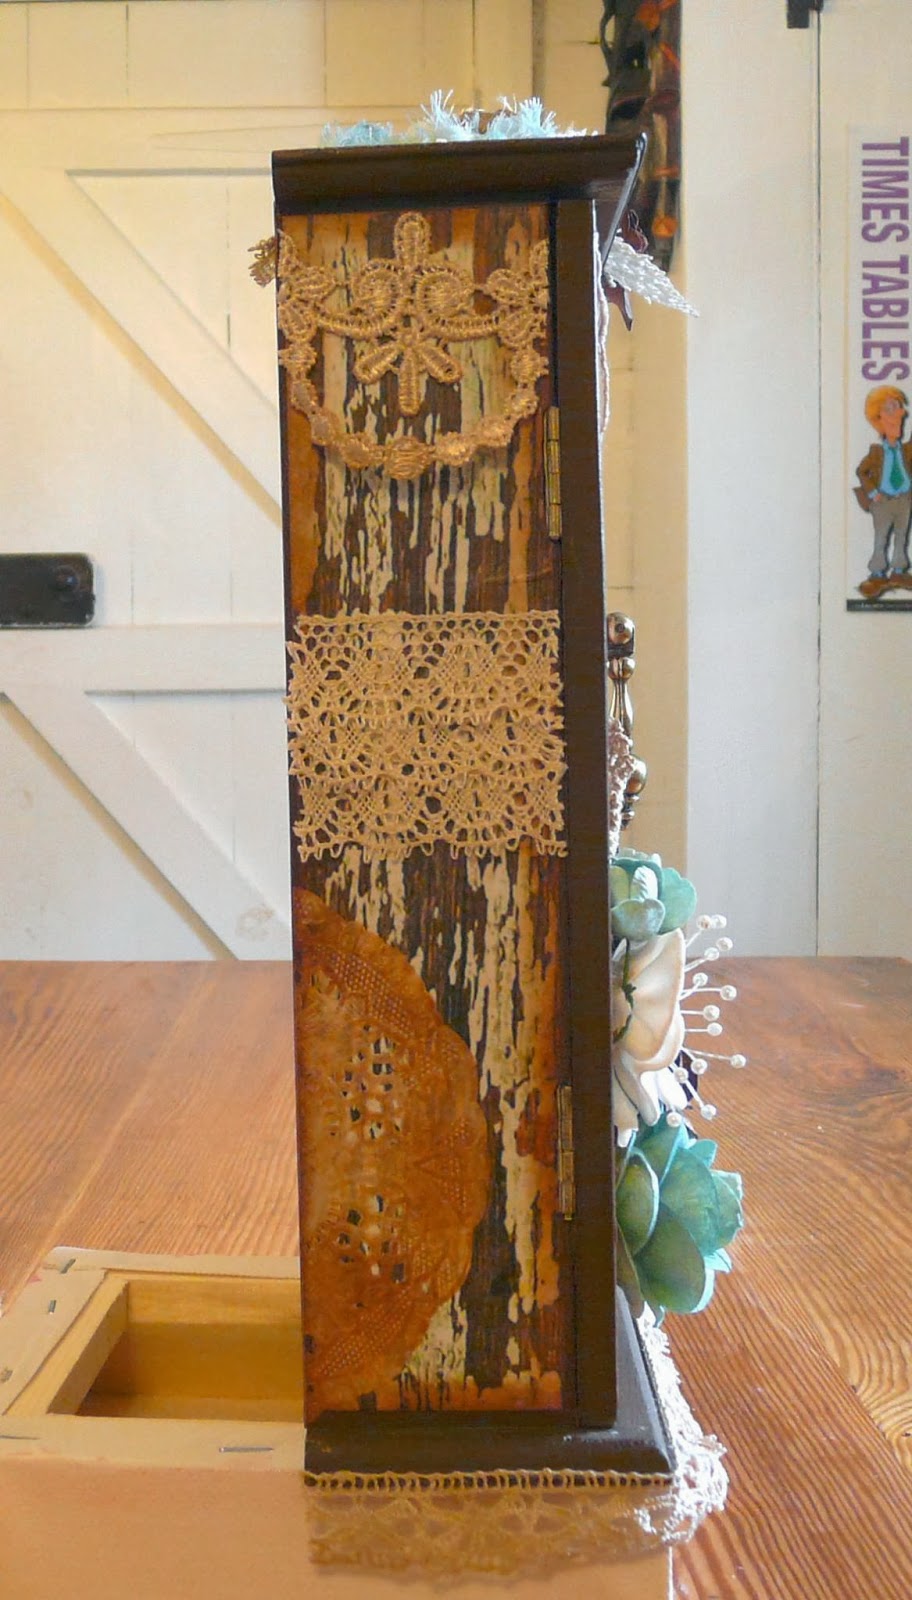
On the right hand side is a doily from my stash which I inked in the same 'vintage photo' distress ink as well as a small piece of trim which I tea dyed that was purchased from Shabbylicious on zibbet.
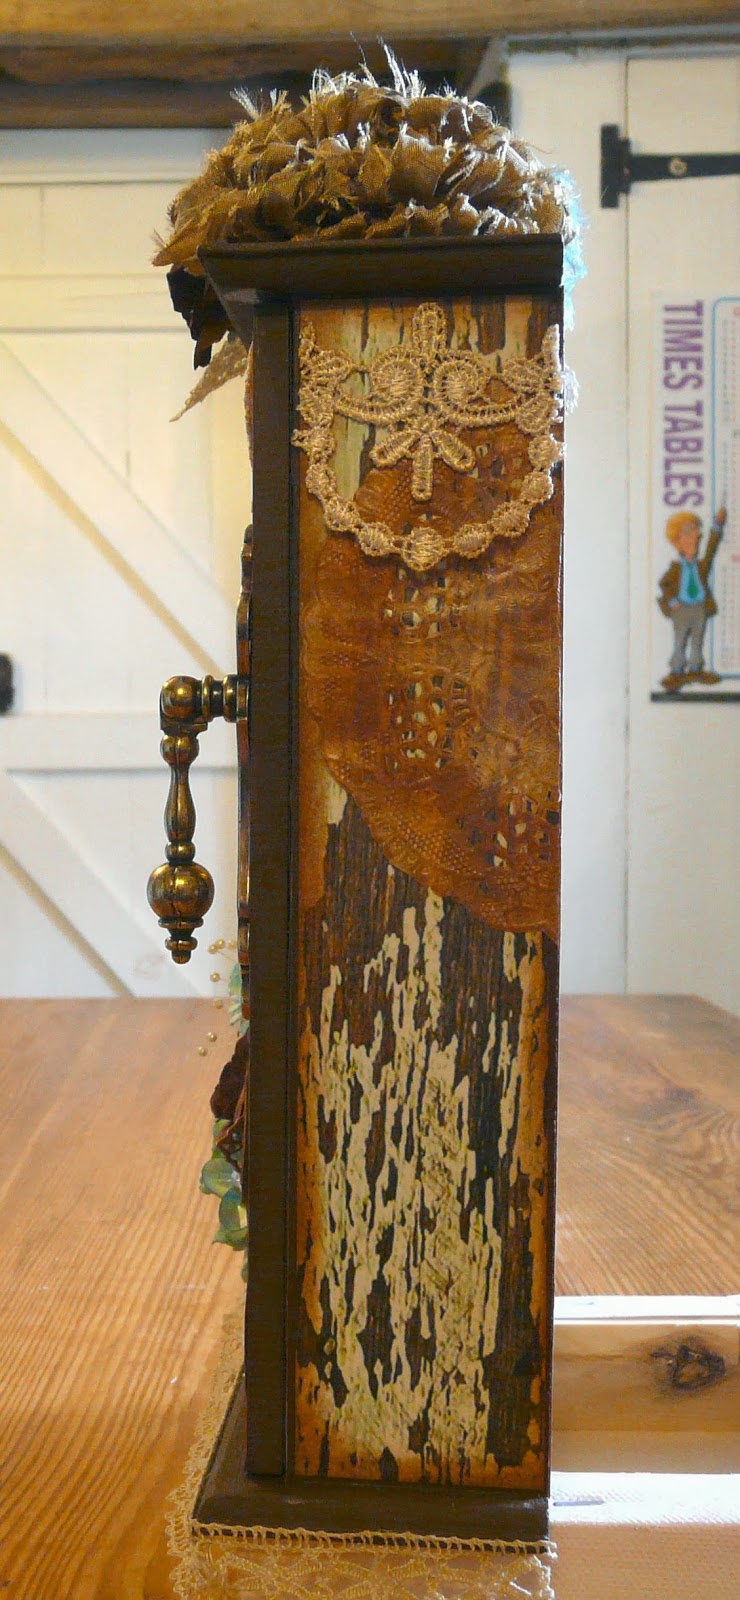
The left side follows the same pattern and I have used the other half of the doily from the right hand side as well as some more vintage lace and a piece of the same trim as on the right side.
On the top I used the same paper with the same distressing and decorated with a large prima flower as well as a hand made rosette shabby flower with a large button centre. I followed a tutorial for the rosette flower on youtube by Lavish Laces. I also used a vintage doily and a brown paper flower from my stash.
The front has been papered the same as the rest of the box. I used a metal door pull that I purchased form ebay for the closure and stuck it on with e6000. I tea dyed the lace at the top and embellished with crochet doily, applique trims well as a number of embellishments & flowers from my stash. The title was made up of Tim Holtz word tickets.
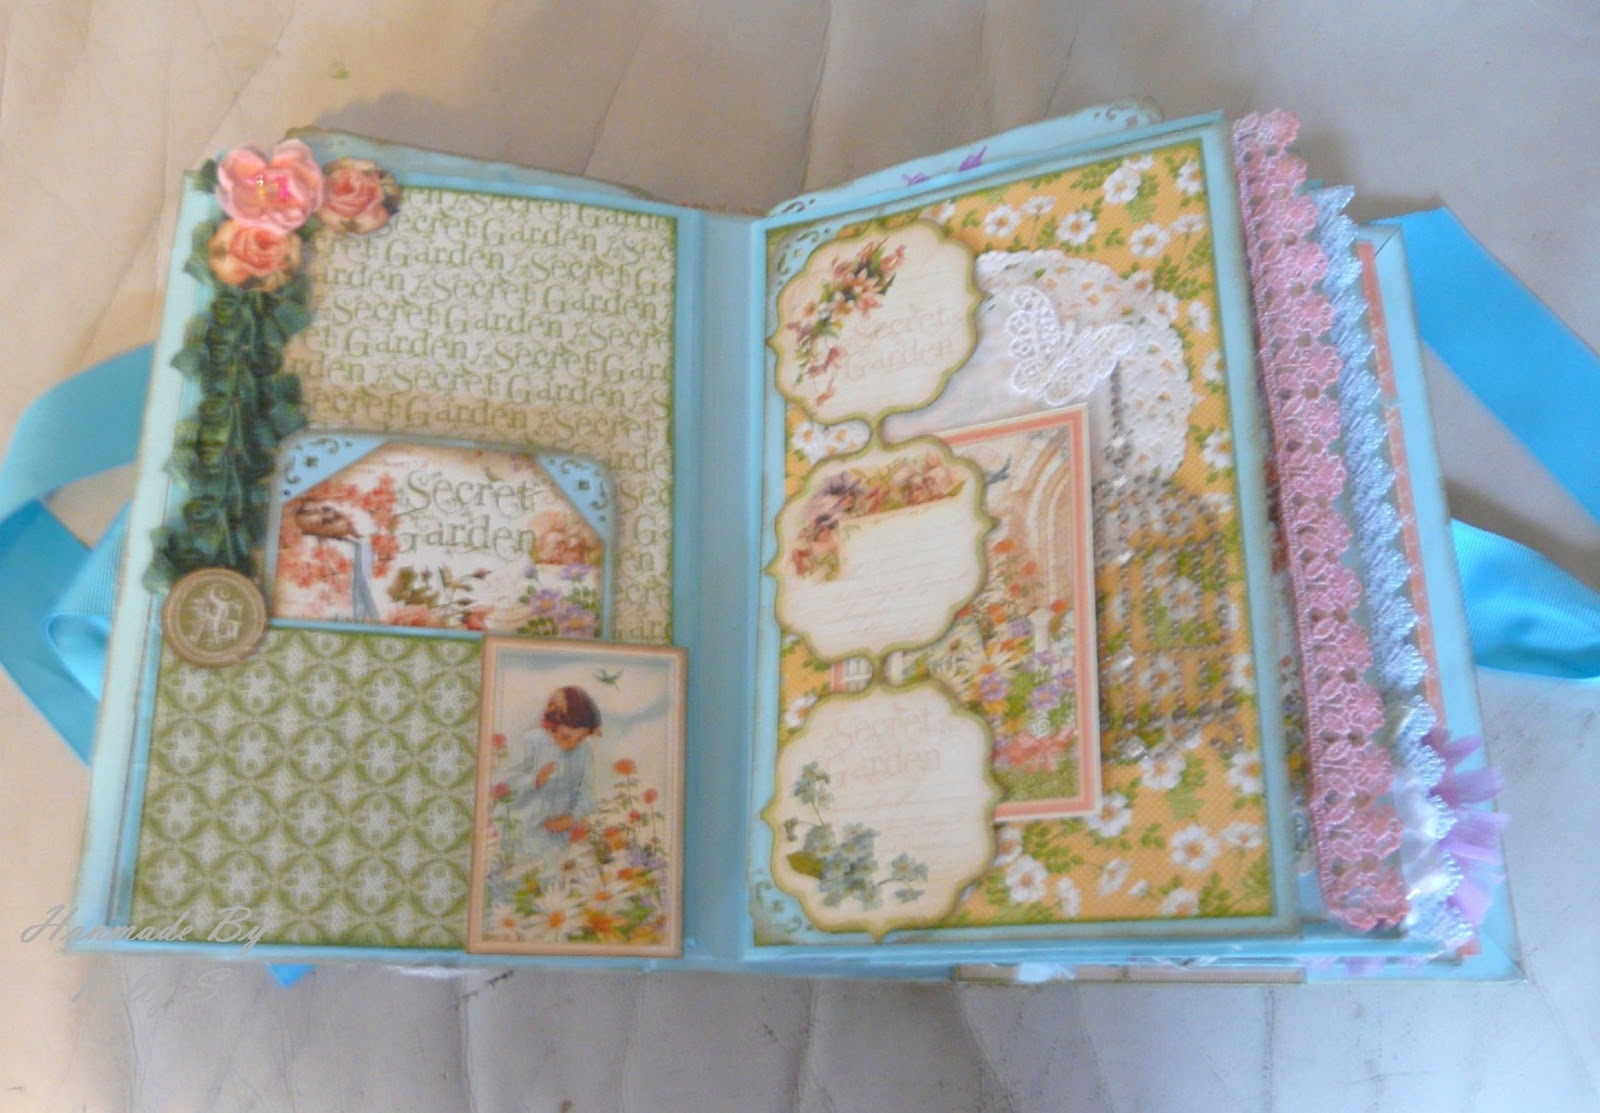
The inside is papered with a different patterned paper from the same collection and I made a little pocket for the inside door to keep receipts in.


I started by painting the bare wood with a chocolate brown acrylic paint. I then cut the paper to fit the box, I mitered the edges to give it a neat look. I distressed all the edges of the paper quite heavily with Tim Holtz distress ink in 'walnut stain'. On the back side I used a piece of brick effect card stock that I bought from UK craft store hobbycraft.
I used a vintage trim all the way around the bottom of the cabinet / box as it was the perfect colour look that I was going for. All the rest of the trims and the doily I tea dyed.
On the right hand side is a doily from my stash which I inked in the same 'vintage photo' distress ink as well as a small piece of trim which I tea dyed that was purchased from Shabbylicious on zibbet.
The left side follows the same pattern and I have used the other half of the doily from the right hand side as well as some more vintage lace and a piece of the same trim as on the right side.
On the top I used the same paper with the same distressing and decorated with a large prima flower as well as a hand made rosette shabby flower with a large button centre. I followed a tutorial for the rosette flower on youtube by Lavish Laces. I also used a vintage doily and a brown paper flower from my stash.
The front has been papered the same as the rest of the box. I used a metal door pull that I purchased form ebay for the closure and stuck it on with e6000. I tea dyed the lace at the top and embellished with crochet doily, applique trims well as a number of embellishments & flowers from my stash. The title was made up of Tim Holtz word tickets.
The inside is papered with a different patterned paper from the same collection and I made a little pocket for the inside door to keep receipts in.


Here's the Video :)
Thanks for stopping by
Kel xoxo
.jpg)
.jpg)


.jpg)


.jpg)